The Classic canvases are eraser-proof. Under the following conditions, you can remove sketches without leaving any residue.
Pre-drawing and erasing on canvases
To paint a stretched canvas, it takes some preparation. Especially the decision about the motif is not always easy. It helps to first sketch the motif before you paint over it. We explain here what you can use to sketch on a canvas and how you can correct these sketches with erasers.
What can you use to pre-draw on canvases?
Depending on the type of paint you want to use on your canvas, you can make your preliminary drawing using different methods.
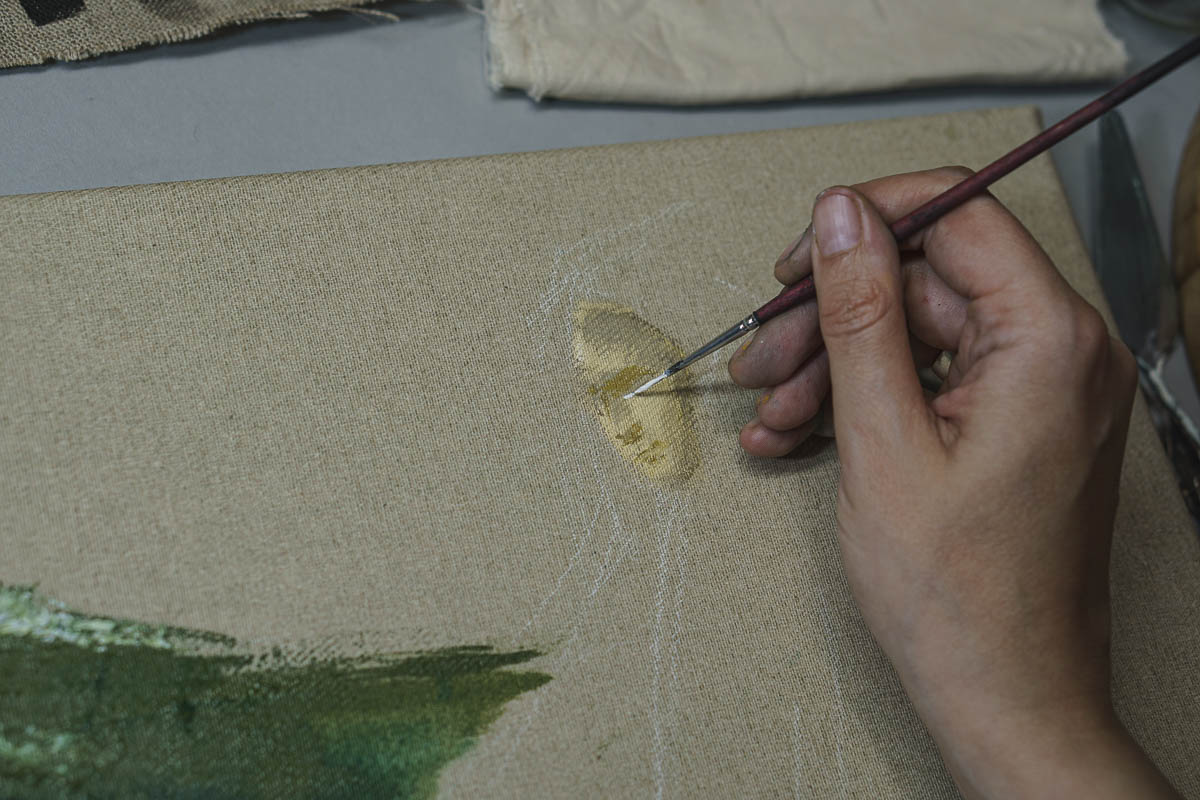
Since the preliminary drawing is often no longer removable after the first layer of paint, you should consider whether your painting is subsequently glazed or opaque. If the paint application is only thin, it is possible that remnants of the preliminary drawing will still show through. In this case, it can help to make the preliminary drawing in the same pastel shade as the final painting. In this way, the drawings disappear with the applied color.
As a general rule, a preliminary drawing on a canvas is most successful with soft painting materials, since these can better compensate for the unevenness of the canvas surface. The following means are possible for preliminary drawings on canvas:
- Pencil and graphite
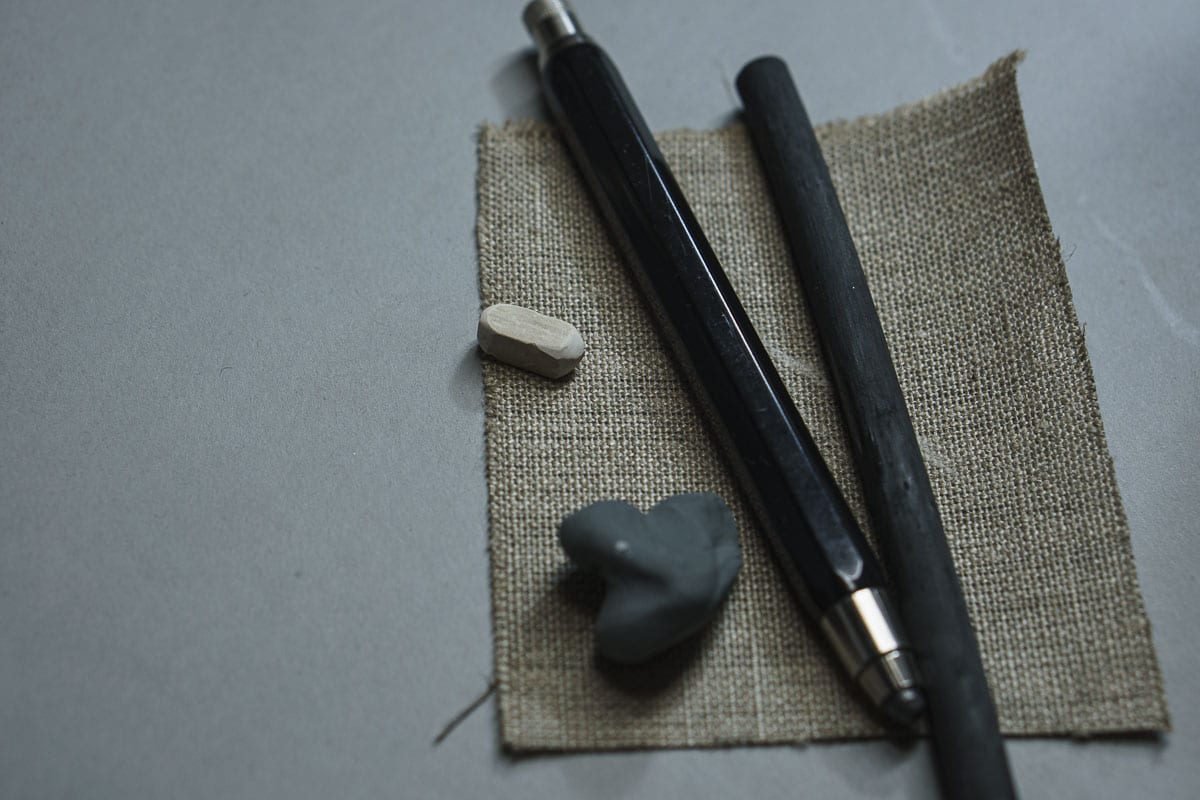
The mixing rate in a pencil of graphite and clay is key to the hardness of the lead. The higher the graphite content, the softer the lead will be. The graphite content should be proportionately high when used on canvases. Certain erasers can be used to correct the graphite drawing on canvases.
Graphite is rather not recommended for oil painting, as it has the property of reaching the paint surface over time. - Charcoal pencils and charcoal are made of charred wood and glide particularly well over the canvas, can be smudged and also erased well, for example with a kneaded eraser. If charcoal is used as a preliminary drawing for a painting, it should in any case be fixed first, otherwise the black-dark layer of dust will combine with the paint.
- Red chalk consists of a soft mixture of clay and iron oxide. The oxide gives the red chalk a deep red color. This pencil is suitable for portraits and figurative preparatory drawings, as the color tone harmonizes well with skin tones. In any case, red chalk is a good alternative for preliminary drawings of oil paintings. If a red chalk is used for preliminary drawing, it should also be fixed first before painting over it with color.
- Pastel and oil crayons
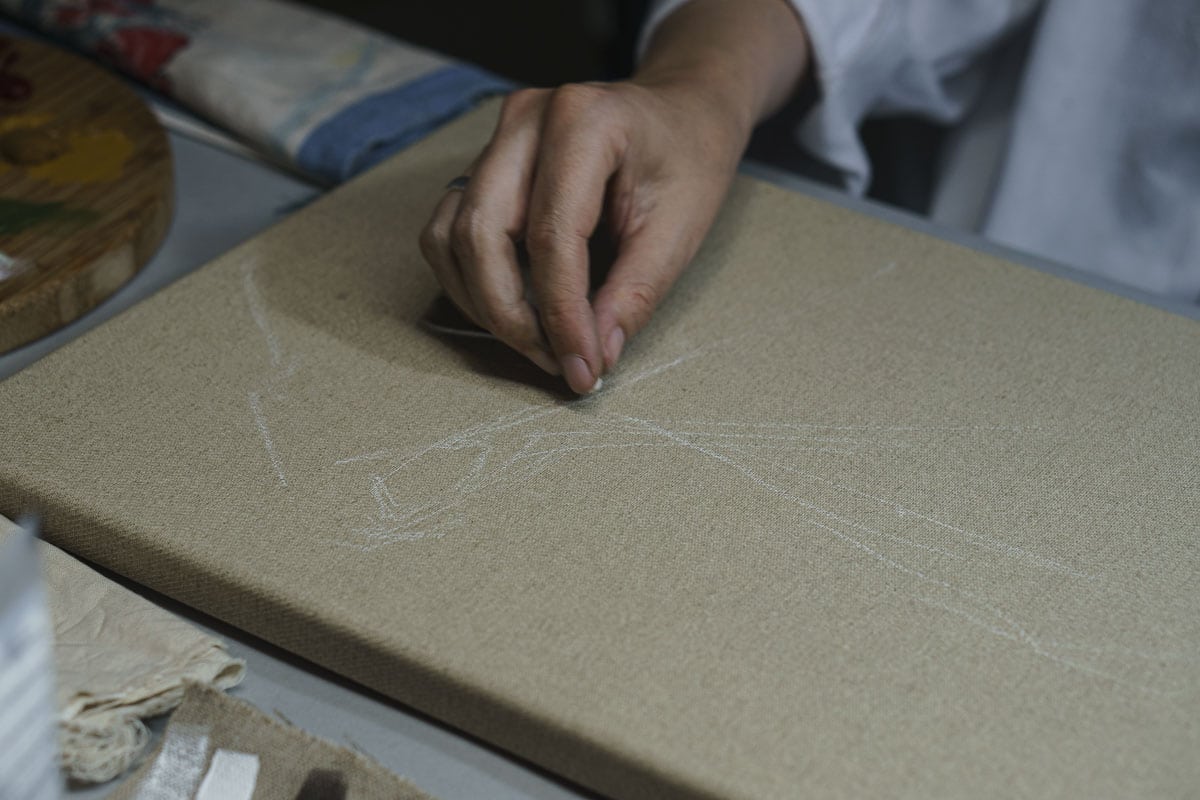
In the production of these crayons, pigments, binders and, in the case of oil crayons, additional proportions of oils and wax are mixed, which are then pressed into pencil form. The chalks are available in all kinds of colors, so that you can choose a suitable shade for the preliminary drawing on the canvas.
Crayons with oil content are ideal for preliminary drawings of oil paintings. Pastel crayons are ideal for water-based paints such as gouache, acrylic or tempera.
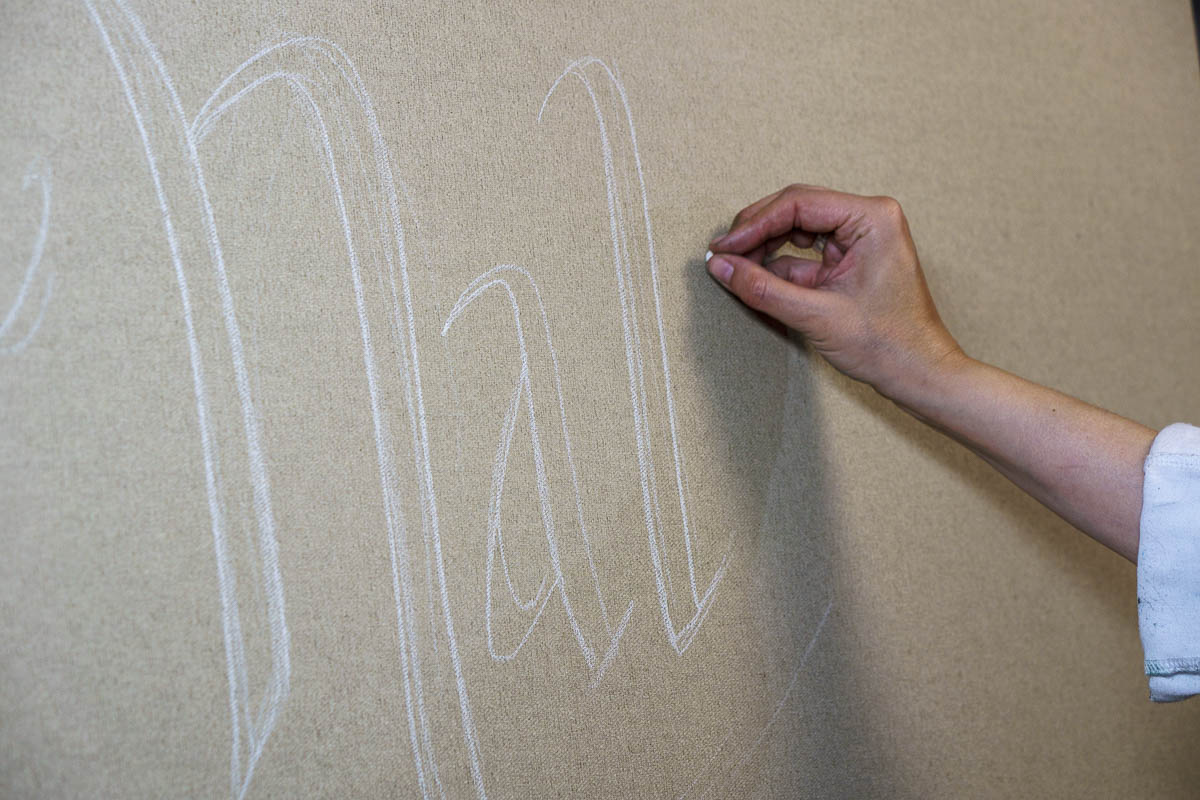
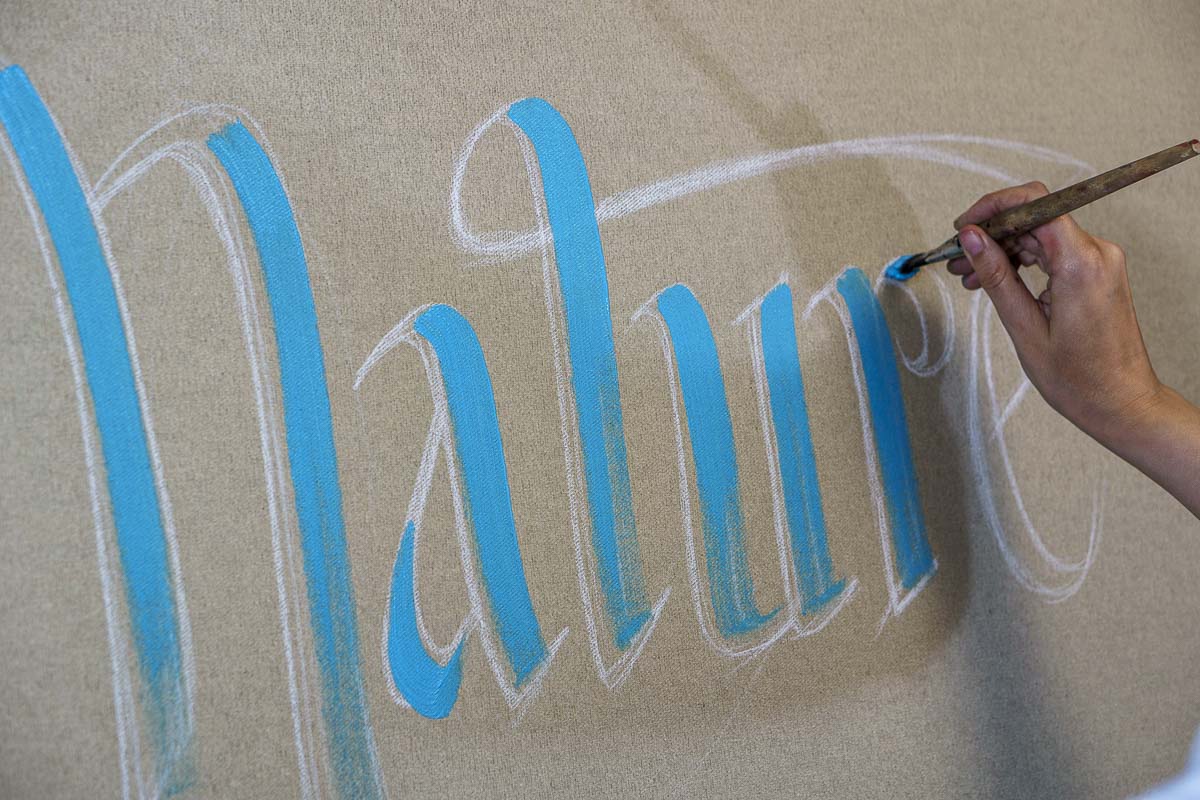
With the light backgrounds of Classic, XtraFein and Xtra Schwer you can also pre-draw with very light chalk colors, which hardly stand out from the background. Even if the chalk lines remain, they will no longer be visible after the color is applied. The situation is different here with Nature. Pastel chalk remains clearly visible there. Of course, you can use this as a stylistic device and integrate the chalk drawings into the work.
What are the requirements for erasing on a canvas?
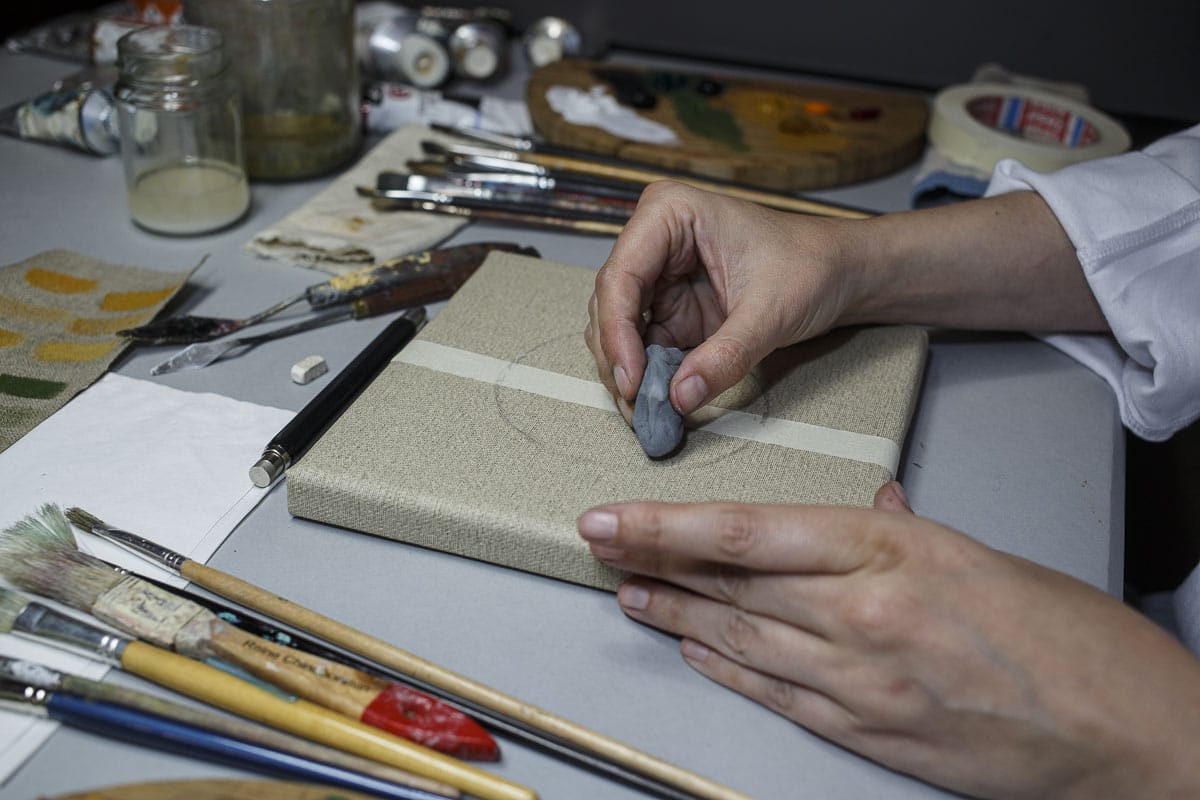
The drawing tools mentioned can be largely or even completely removed again from a canvas with the appropriate eraser.
It is important here that the drawing is on the top layer if possible, otherwise the color area above it would be erased. Especially when working with acrylic, nothing can be removed later due to the setting of the paint.
The painting surface must be dry for erasing. If the material is damp, the eraser cannot grip properly. If the canvas already has paint or only water on it, it is best to wait until the canvas is completely dry before erasing.
What is the best eraser to use?
The choice of eraser is essential. If you want to erase on a canvas, make sure when you buy your eraser that it is as soft as possible. A lead ink eraser, for example, is too hard. Better are erasers from the art supply store or so-called dirt erasers, which do not leave streaks and have a high absorption capacity.
- Soft erasers can be either rubber-based or PVC. If you have a white canvas, it is best to use a white soft eraser, which does not leave any paint smears on the canvas.
- Eraser pencils are available with soft material and as hard erasers. Again, the softer the better.
- Clay erasers are particularly gentle on the canvas because they are made of a very soft rubber compound that can be molded into any shape, much like plasticine. With the kneaded eraser, you press back and forth on the canvas surface rather than erasing.
- Dirt erasers are made of a solid foam (melamine resin) and is actually designed for household use. Dirt erasers work similarly to erasers, except that chemically, a dirt eraser is an open-pored foam block that rubs off on the surface as you erase. This leaves much more fine abrasion residue, which you should definitely remove with a brush or vacuum cleaner before painting.

ErasingTips
- Always pay attention to the quality of the eraser, here should not be saved. Only a high-quality eraser can actually erase well and gently.
- When erasing, always work in one direction only. That way you avoid streaks.
- To avoid roughening the surface too much, always use only a little pressure when erasing. It is better to run the eraser gently over the canvas more often than to push it with a lot of pressure only a few times over the painting surface. This way you avoid dents in the surface.
- If you want to exert more pressure, place a board under the canvas that is approximately the thickness of the stretcher bar. This way you don't push the eraser too hard and avoid unsightly dents in the canvas.
- You should always remove the abrasion that occurs during erasing before you start painting. You can either carefully blow away the crumbs, vacuum them up, or sweep them away with a soft brush. However, it is not advisable to wipe away the eraser residue with your fingers or hand. This could cause the preliminary drawing to smear.
- If the eraser is dirty, rub it clean again on a separate surface. This will prevent you from getting smudges of dirt on the area to be erased.
More tips and tutorials for stretched canvases
If you notice that the canvas is no longer tight, you can re-stretch your painting. Here we show you how to do it.
What is Mixed Media? How does mixed media work on stretched canvases? Here we show you what tools, frames and attachments you can use to create your own mixed media art.
What is the best way to store canvases after completion? How do you hang stretched canvases correctly? These are the questions we explore here.
In this overview you will find all the information you need about paints on canvas.